# Set Up Materials
While Level 1 takes materials from the mesh file directly, materials for Level 2 to 4 need to be uploaded separately. In order to do so, follow the Rubens Admin Materials & Textures Documentation (opens new window).
You need to choose a good material ID. It is important as this is what you need in the component afterwards.
# Two Ways of Mapping Materials to Models
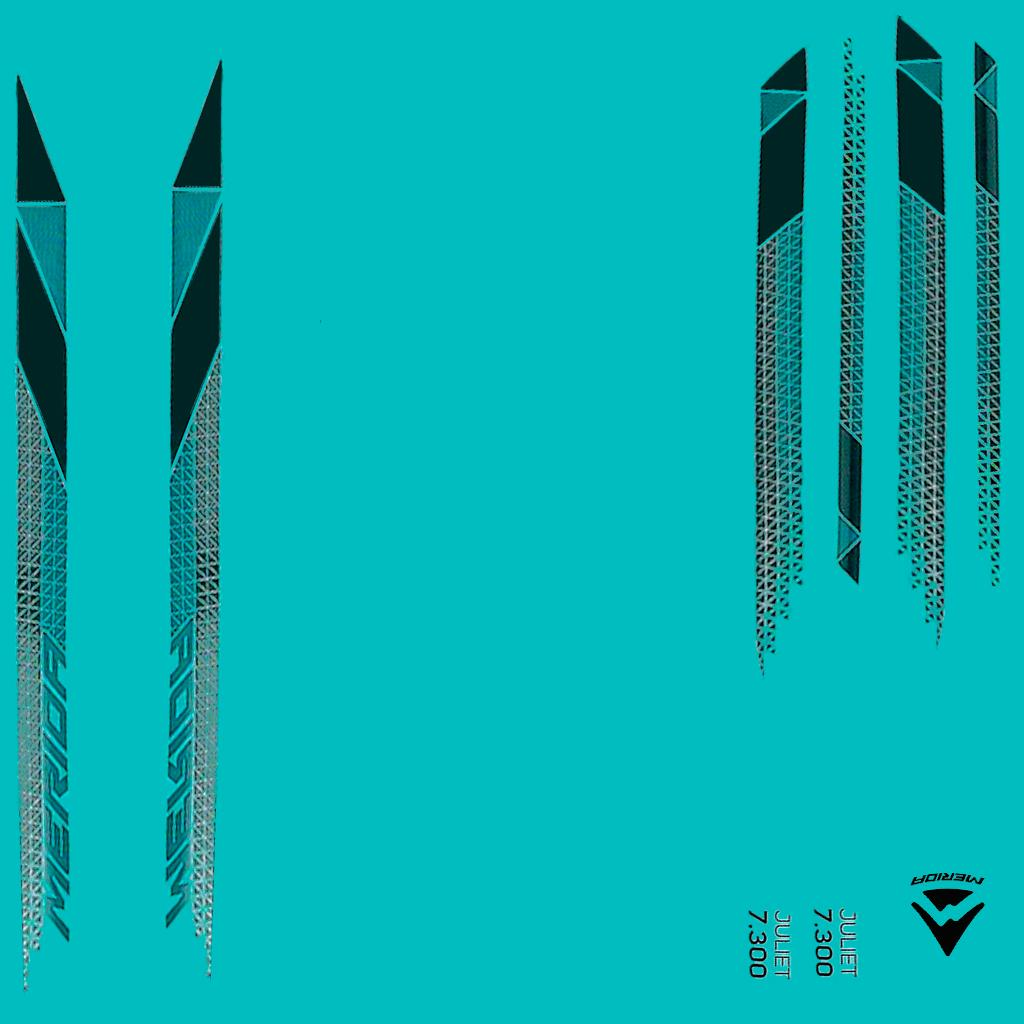
As a standard in 3D modelling, you can replace a lot of 3D features with materials, where small details are not modelled, but rendered using normal maps, ORM maps etc. You can use this approach as well in the Roomle platform. You will have a set of textures for every mesh. In case of this bicycle (opens new window), such an approach is used - there is a texture in three colours.

You can even have the whole 3D mesh mapped with just a single texture with different colour variants. In such a case, you can use UV mapping with normal values between 0-1 for the UV coordinates and a texture with UV size of 1x1 mm.
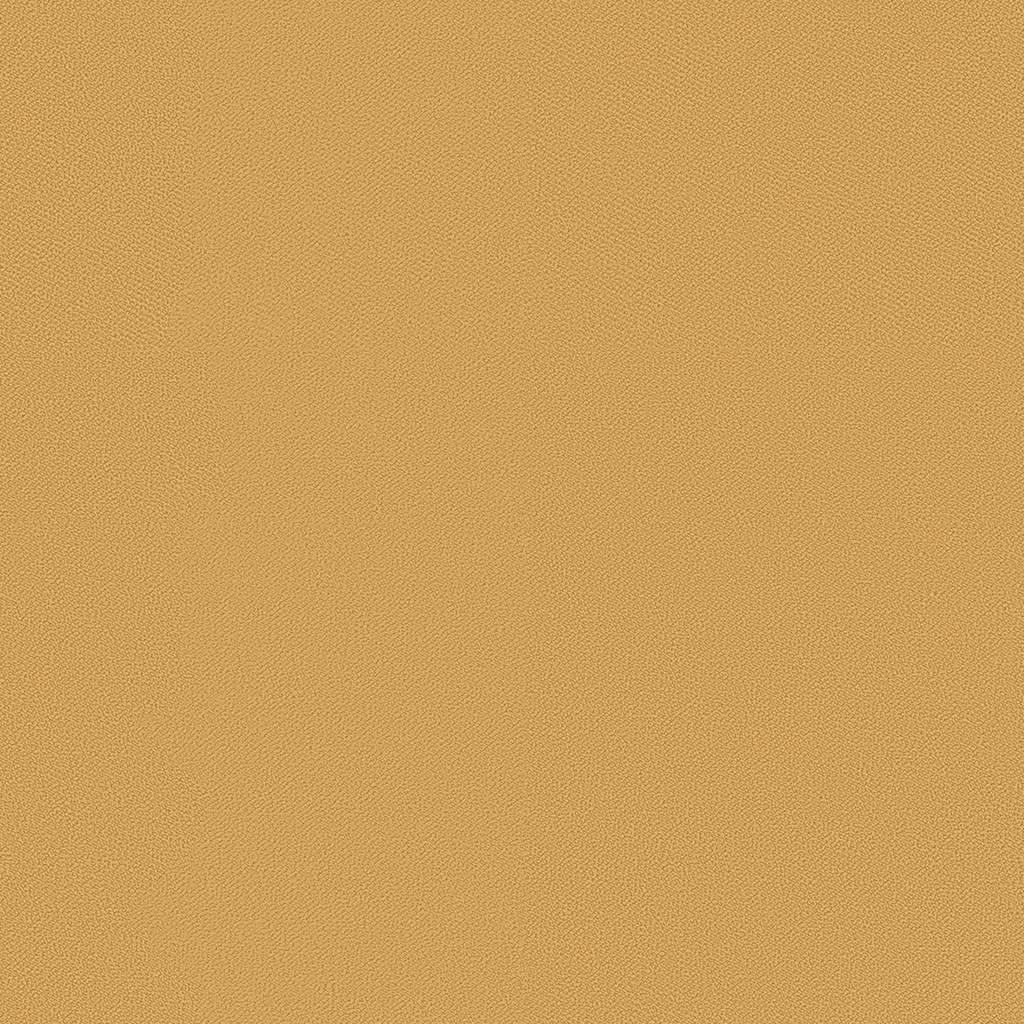
However, there are products where this approach is not feasible, for example sofa system: A lot of meshes with a lot of materials would reult in too many textures. In such case, you have to prepare the model with UV mapping in a way that the UV coordinates are in milimeters and are representing real-world size coordinates on the flat fabric. The texture is then a small seamless cutout of the fabric with real-world UV size in milimeters. Like this, you can create a material library which you can map on any primitive or any mesh (supposing the mesh has a compatible UV mapping). An example of a 200 x 200 mm fabric cutout follows:

